16/6/2025 - 6/7/2025 (Week 8- Week 10)
Lee Wing Kie / 0364251
Experiential Design / Bachelor of Design (Hons) in Creative Media
Task 3: Creative Experience Design Project Prototype
INSTRUCTION
In Task 3, we are required to complete the prototype of our proposed idea
and test the MVP features. Everything will be developed in a Unity app. We
are following the screen design prototype created in Figma during Task
2.
Prototyping Process
(i) Splash Screen

In the splash screen, I added a START button. After clicking the button will navigates to the next screen
which is Homepage. To make the button functional, I watched some tutorials
on YouTube and added a script to change the scene when the button is
clicked.
Script for changing scene with a button

(ii) Homepage

(iii) Quiz

In the Quiz scene, the challenge for me was animating the button color
change when it was clicked. I found a tutorial on YouTube, and the process
was quite similar to the scene changing button function. It just required
some additional settings in the Inspector.

Under Change Button Image (Script), only need to linked the image of the button to the New Button Image and Button fields. Below is the result.

(iv) Lesson Complete

Since Unity cannot link to the same scene twice in a row, after the Lesson Complete page appears and the Done button is clicked it will return to the Homepage. To handle this, I created a new scene called Homepage B that acts as a duplicate of the original Homepage. I also added a Change Scene button in the bottom navigation, which allows to navigate to the Game Level scene.
(v) Game Level

In this scene, I added a Go Back function to the back arrow button. I also implemented a feature where
clicking the current level will directly navigate to the AR
Camera. Below is the script for the Return button, can return to the Homepage B.

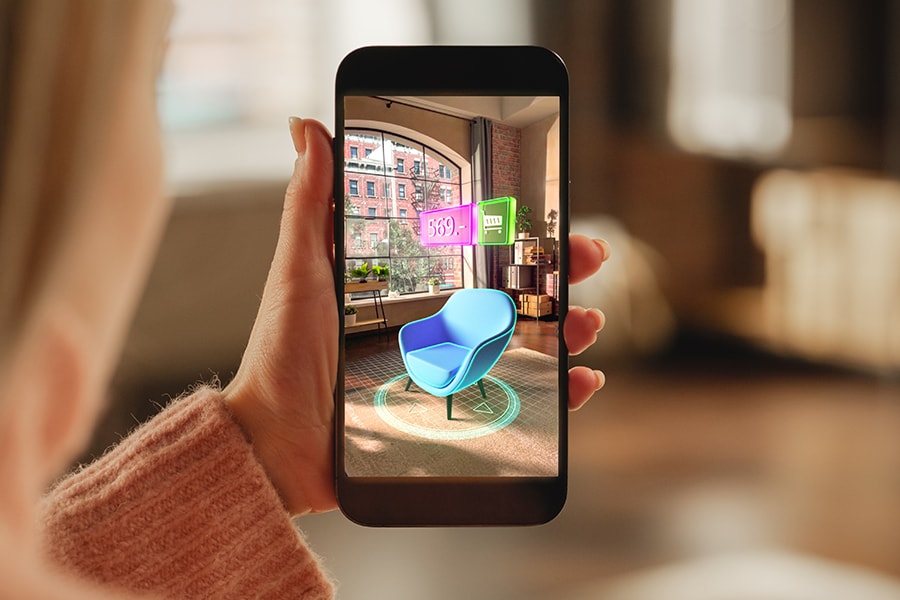
(vi) AR Camera

Outcome

Walkthrough Video
Presentation Video
REFLECTION
In this prototype, I was quite nervous at the beginning because I wasn’t familiar with some of the functions. However after doing research, watching tutorials on YouTube and asking seniors for help, I managed to complete everything on schedule. The main functions I used were linking buttons to different scenes, placing 3D models and setting up AR hints. These tasks took some time, but enjoyed the process.
As I move forward to the final task, I’m excited to see the final outcome. I hope everything goes smoothly and results in a more polished and engaging AR app experience.
Comments
Post a Comment