21/4/2025 - 18/5/2025 (Week 1 - Week 4)
Lee Wing Kie / 0364251
Experiential Design / Bachelor of Design (Hons) in Creative Media
Task 1: Trending Experience
INSTRUCTION
Week 1
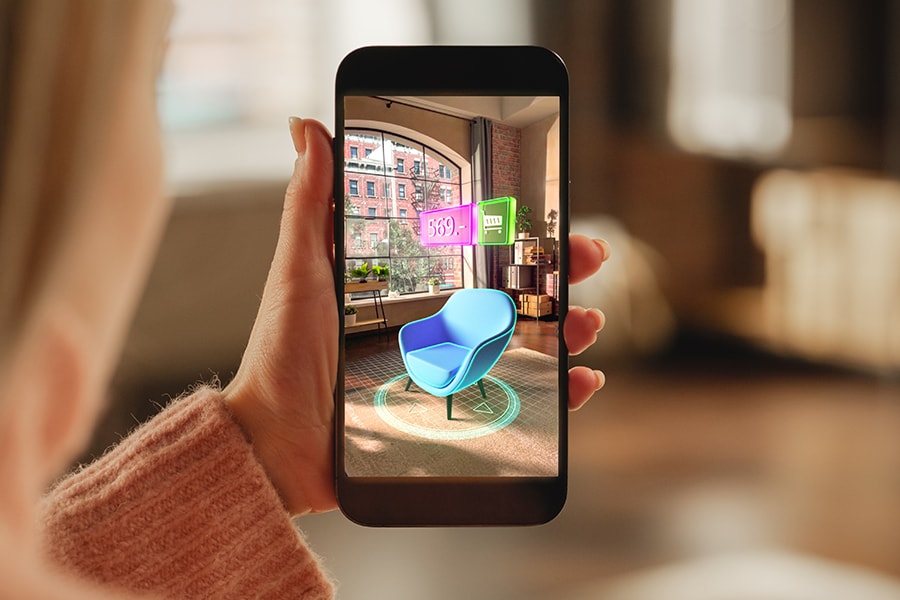
In Week 1, we explored different experiential ideas using Augmented Reality
(AR). We were shown some examples from past seniors to gain a better
understanding of AR and to find inspiration. Mr. Razif also gave us some
advice and tips on building the AR experience and choosing topic for our
upcoming task.
Week 2
We were taught about the application of a journey map, we had our first
group activity, where we created a journey map together. My group
decided to create a journey map about first time visitor attending a concert
at Axiata Arena. The scenario included the following stages:
1. Arrive at the venue
2. Take photo
3. Explore Merchandise Booths
4. Queue for Entry
5. Locate Assigned Seating
6. Performance & Enjoy
7. Intermission
8. Leave Venue
Each stage allowed us to identify both gain points and pain points, which
helped us brainstorm ways to enhance the experience using AR
technology.

|
|
Fig 1.1 Image - Group Presentation
|
Week 3 | Image Target
In this week, we had our first introduction to Unity.
1. We open Unity, click the New Project button, choose 3D (Built-In Render Pipeline), select the file location where we want to save it and then
click Create Project.
2. After that, we had to register for the Vuforia Engine by downloading Vuforia.

|
|
Fig 2.2 Vuforia Database
|
After setting up the database in Vuforia, insert the image that we want to
use as the ImageTarget in Unity.

|
|
Fig 2.3 Right click - Vuforia Engine - ImageTarget
|

|
|
Fig 2.4 Image target behavior
|
We need to change the Image Target behavior type to "From Database."
After completing all the settings, we can place any object on the
ImageTarget. Then click the Play button and open the camera to experience AR
by identifying the image.

|
|
Fig 2.5 Outcome of the 3D cube on the ImageTarget
|
Task in class
In Week 3, our task in class was to work with our table group mates to
choose a topic and propose an idea for using AR. Our group chose the topic
of gyms.
Presentation Slides
Week 4 | UI Button & Animation
This week is Wesak Day, so we didn’t have class. Mr. Razif uploaded a tutorial video on myTimes. We just need to watch the YouTube video. Last week, our class focused on marker-based AR experiences, specifically explaining why we need an ImageTarget to trigger AR visuals, in our case, a 3D cube appears when the image target is detected. This week, we moved on to introducing controls. The tutorial explains how to use UI Button controls. So I continued working on the progress from the previous week.
Add Button
1) Right click in the Hierarchy, then choose UI > Canvas
2) Right click again and choose UI > Event System
The first thing we need is an Event System. Without it, the button won’t work.
3) Right click at Canvas , choose UI > Button - TextMeshPro
Add Functions (Hide & Show)Under the Inspector > Button section, we can change the Pressed Color. This setting changes the button’s color when it is clicked.
 |
| Fig 3.1 Add color effect for button when pressed |
Next, in the "On Click()" section, click the "+" button. Then, drag the cube (the object you want to control) into the "None (Object)" field. Then add a function, select GameObject > SetActive (bool). The small checkbox determines the visibility — if checked, the object will be shown; if unchecked, the object will be hidden.
 |
| Fig 3.2 Add function to show and hidden object |
Animation
In the Animation window, click the Record button, then move the object to the desired position. Adjust the keyframes (dots) along the timeline to control the animation. Once done, click the Record button again to stop recording.
To stop an object’s animation:1) Select the button layer in Hierarchy.
2) In the On Click() section, change the function to Animator > enabled (bool).
The small checkbox controls whether the animation is active — if checked, the animation will play; if unchecked, the animation will be disabled.
Fig 3.3 Outcome video showing stop & resume object animation
Week 5
This week, we switched to online class and also provided a YouTube live stream. In case we miss anything during class, we can review the progress.
We learned how to edit scripts
How to make the cube disappear
Click on the Cube in the Hierarchy. Under "Script Machine", change the "Source" to "Embed" and update the Title. Then, click "Edit Graph".
In the Script Graph, add a note. Go to "Event" > "Input" and select "On Mouse Down". Then, add another note and search for "GameObject: Destroy (Obj)".
Fig 4.1 Outcome video - Cube disappear on click
Week 7
This week, we learned how to connect our phone to a laptop, set up and run Xcode in Unity, and launch the Unity app on our phone.
Project Settings
File > Build Profiles > Select iOS > Player Settings
Under Other Settings:
- Uncheck Metal API Validation
- Uncheck Identification > Override Default Bundle Identifier
- Uncheck Render Over Native UI
- Set Camera Usage Description to "AR Camera"
- Set Target Minimum iOS Version to the closest version of the currently used iPhone iOS
After completing these settings, click "Build and Run". Create a new folder > Save.
Xcode
After completing the build and project settings, the Xcode window will automatically open.
Under Signing & Capabilities:
- Enable "Automatically manage signing"
- Choose your Apple ID
- Set the Bundle Identifier name
- Click Run to export and launch the app
Ground Plane
Hierarchy > Right click > Vuforia Engine > Ground Plane > Ground Plane Stage
Click on Plane Finder, drag Ground Plane Stage into the "Anchor Stage" field. After completing these settings, save project, Build and Run.
Button Animation
Click the Button > Animation tab below > Create > create a new folder and save as animation.
Click the Record button, adjust the position of the dots in each frame, and modify the scale of the button for each keyframe.
Go back to the Project tab below > open the Animation folder > select the button animation, uncheck Loop Time in the Inspector panel.
Week 8
This week, we created a markerless AR experience by detecting a flat surface to spawn a 3D object on the ground. First, we need to go to the AssestStore Unity to download a bedroom 3D model, open and import it into Unity. Setting up Vuforia Package.
After that, set up the project settings for iOS and Xcode as before. Create a Plane Finder and a Ground Plane Stage in the Hierarchy. Attach a script to the Canvas, create a new script, and click Edit.
REFLECTION
The class exercises and activities have really helped me understand AR experiences and how to use the Unity app. The most enjoyable exercise was learning is how to build the UI button and animation in the Week 4 exercise. The tutorial video by Mr. Razif very detailed and well explained, which easy for me to follow and learn quickly.
At first, I found using Unity quite challenging especially during the first class. I was also quite nervous about the upcoming tasks. But through the ongoing exercises and in class activities, I gained valuable insights into how to use Unity and develop our AR project. I'm looking forward to applying everything I've learned in my own AR project.


Comments
Post a Comment